This website uses cookies to ensure you get the best experience on our website.
Privacy Policy
Got it!
Skip to content
Famous Explorers
European Explorers
American Explorers
Explorers by Location
Explorers by Time Period
Famous Explorations
Search
Home
»
Picture
»
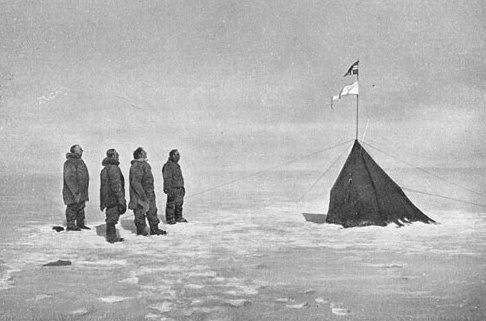
Picture Of Roald Amundsen And His Crew
Picture Of Roald Amundsen And His Crew
Used in articles:
Roald Amundsen